
A TIP FOR DSTRETCH+PHOTOSHOP – DSTRECHと PHOTOSHOPのヒント
DSTRETCH (https://www.dstretch.com/) is a powerful tool for enhancing faint images of Rock Art. However, the enhanced images have often strong false colors. It is difficult to use for public presentation purposes. One solution to this problem is to use Hue masks of DSTRETCH to extract the painted areas and paste them onto the original image, but this is a complicated process and the result is unnatural.
The solution to this problem found by Mr. Hideharu Yamada, a professional designer and Photoshop expert (https://lithos-graphics.com/) , is to blend the ‘luminosity’ of the image obtained by DSTRETCH with the original image by using Photoshop. This avoids the false colors of DSTRETCH, and allows for a natural-looking result. This process is simple and can be done within 10 seconds. It is also possible to achieve an even more natural result using various function of Photoshop. This process is possible not only with Photoshop CC but also with Photoshop Elements and some older versions of Photoshop such as CS.
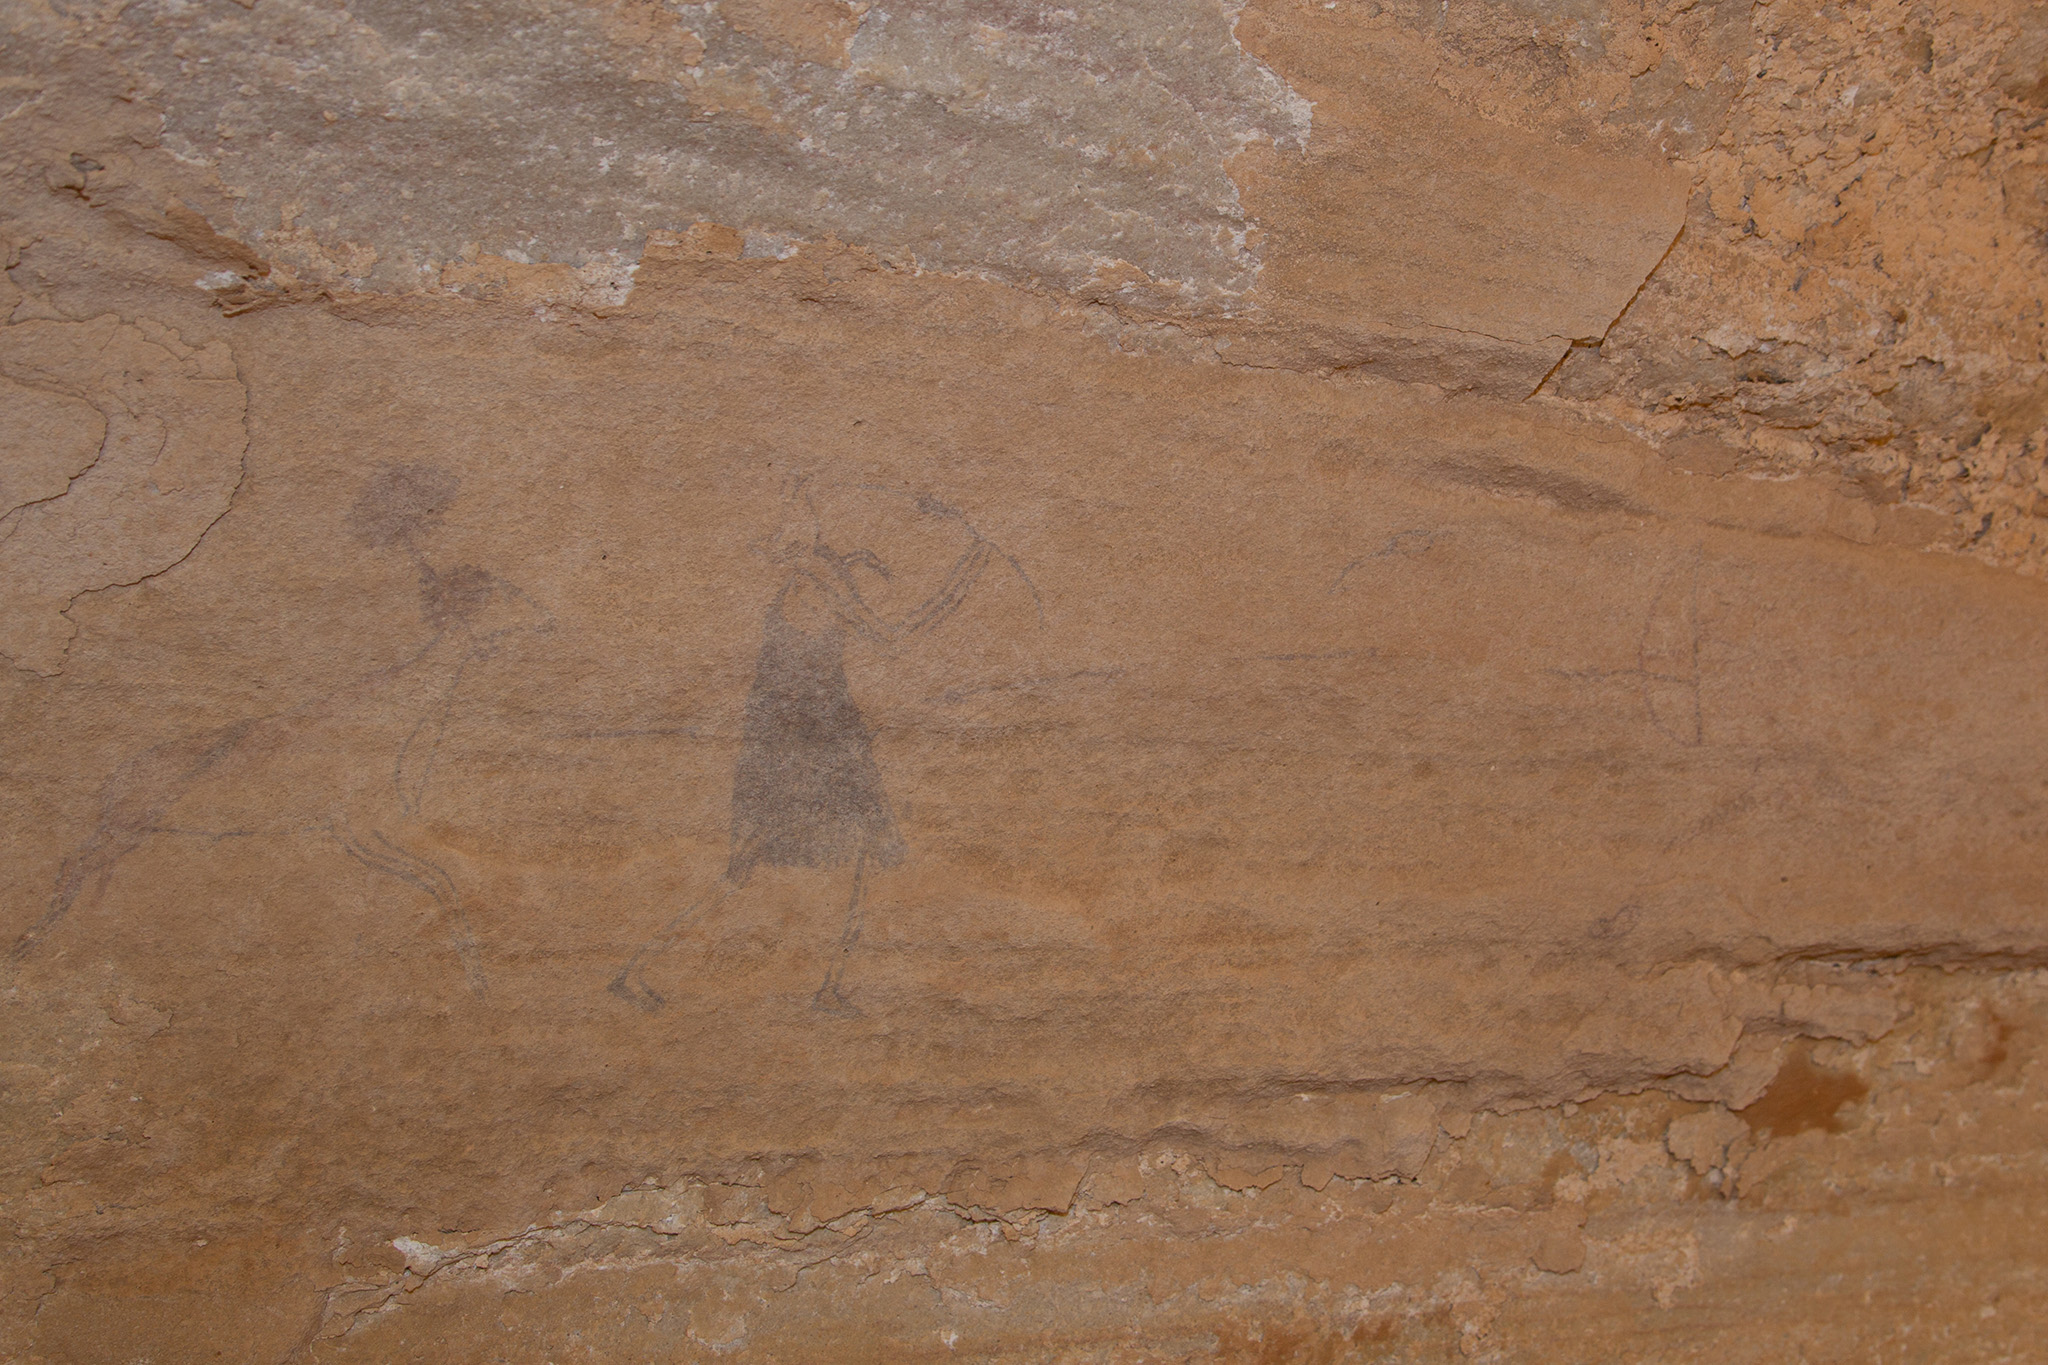
Original image of rock art (Iheren, Tasdsili n’Ajjer, Central Sahara)
DSTRETCH (https://www.dstretch.com/) は見えにくくなった壁画を鮮明化する強力なツールであるが、鮮明化によって画像に偽色が含まれてしまうため一般的なプレゼンテーションには使いにくいという問題がある。この対応として、DSTRETCHのHue maskによって描画部分を抽出して元画像に貼り付ける方法があるが、作業が煩雑で仕上がりも不自然なものとなる。
デザイナーでPhotoshopに通じた山田英春さん (https://lithos-graphics.com/) がこの問題の解決策として見つけた方法は、DSTRETCHで得られた画像の輝度(濃淡)のみをPhotoshopで元の画像に合成するもの。これによりDSTRETCHの偽色を回避して自然な仕上がりが可能となる。この処理は非常に簡単で、DSTRETCH画像と元画像があればわずか10秒程度の時間でできる。また、Photoshopを使ってさらに自然な仕上がりにすることも可能。Photoshop ElementsやCSなどの古いバージョンのPhotoshopでも可能な方法を紹介したい。
元の不鮮明な壁画の画像 (イヘーレン、タッシリ・ナジェール、中央サハラ)
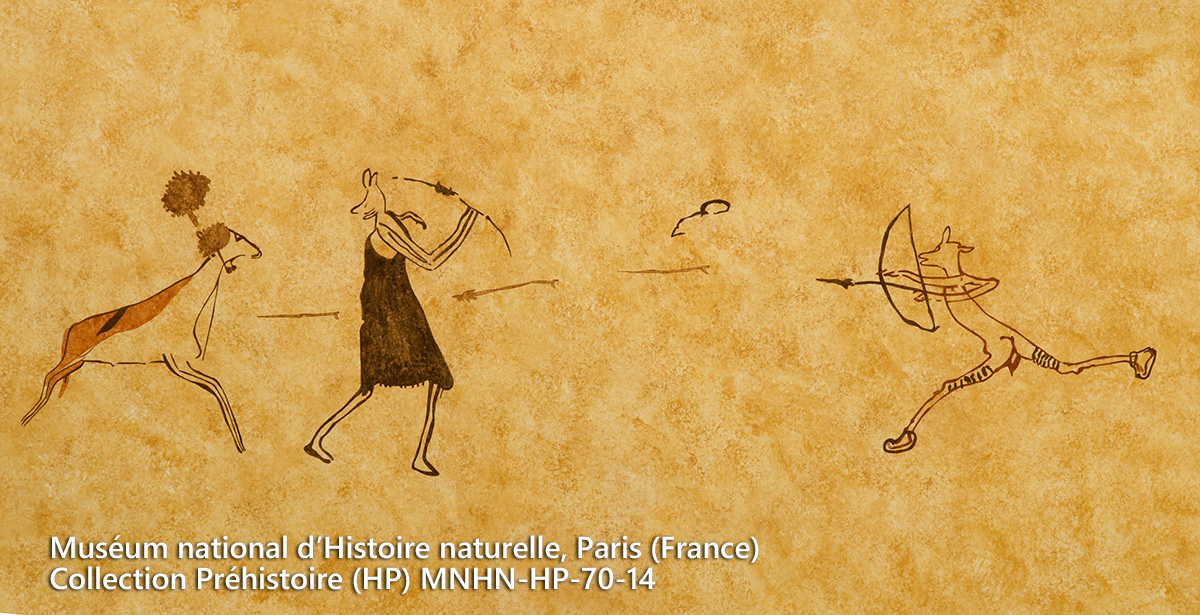
Tracing by the mission Henri Lhote in 1970
仏アンリ・ロート調査隊制作の実物大模写、1970年
DStretch-YBK (scale 15) Enhanced image with DStretch containing strong false colors.
DStretch-YBK (scale 15) 強い偽色を含むDSTRETCH処理された画像
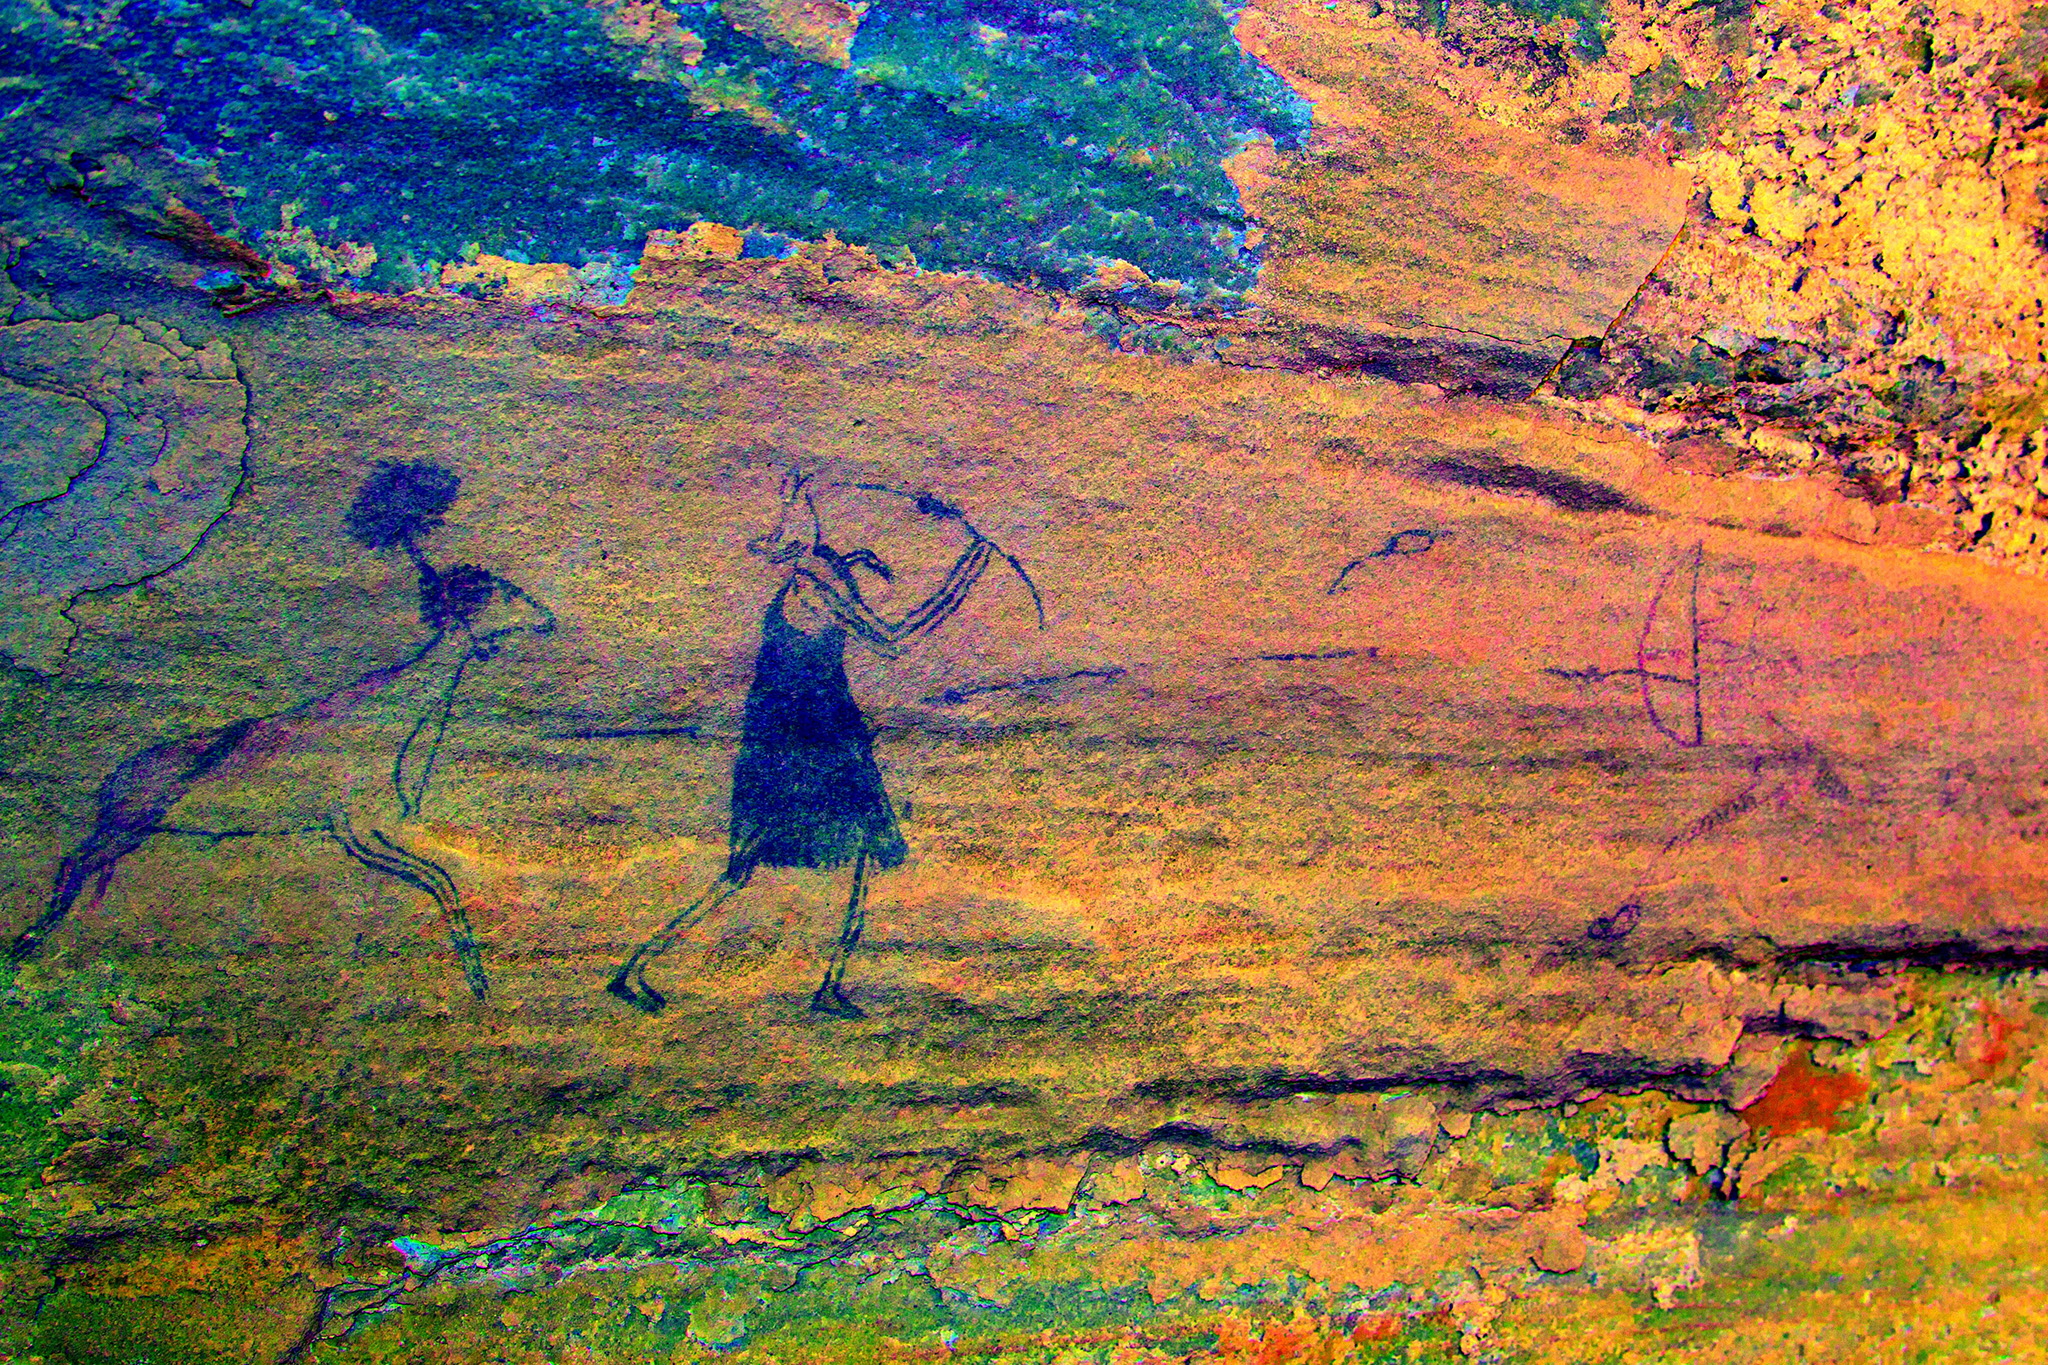
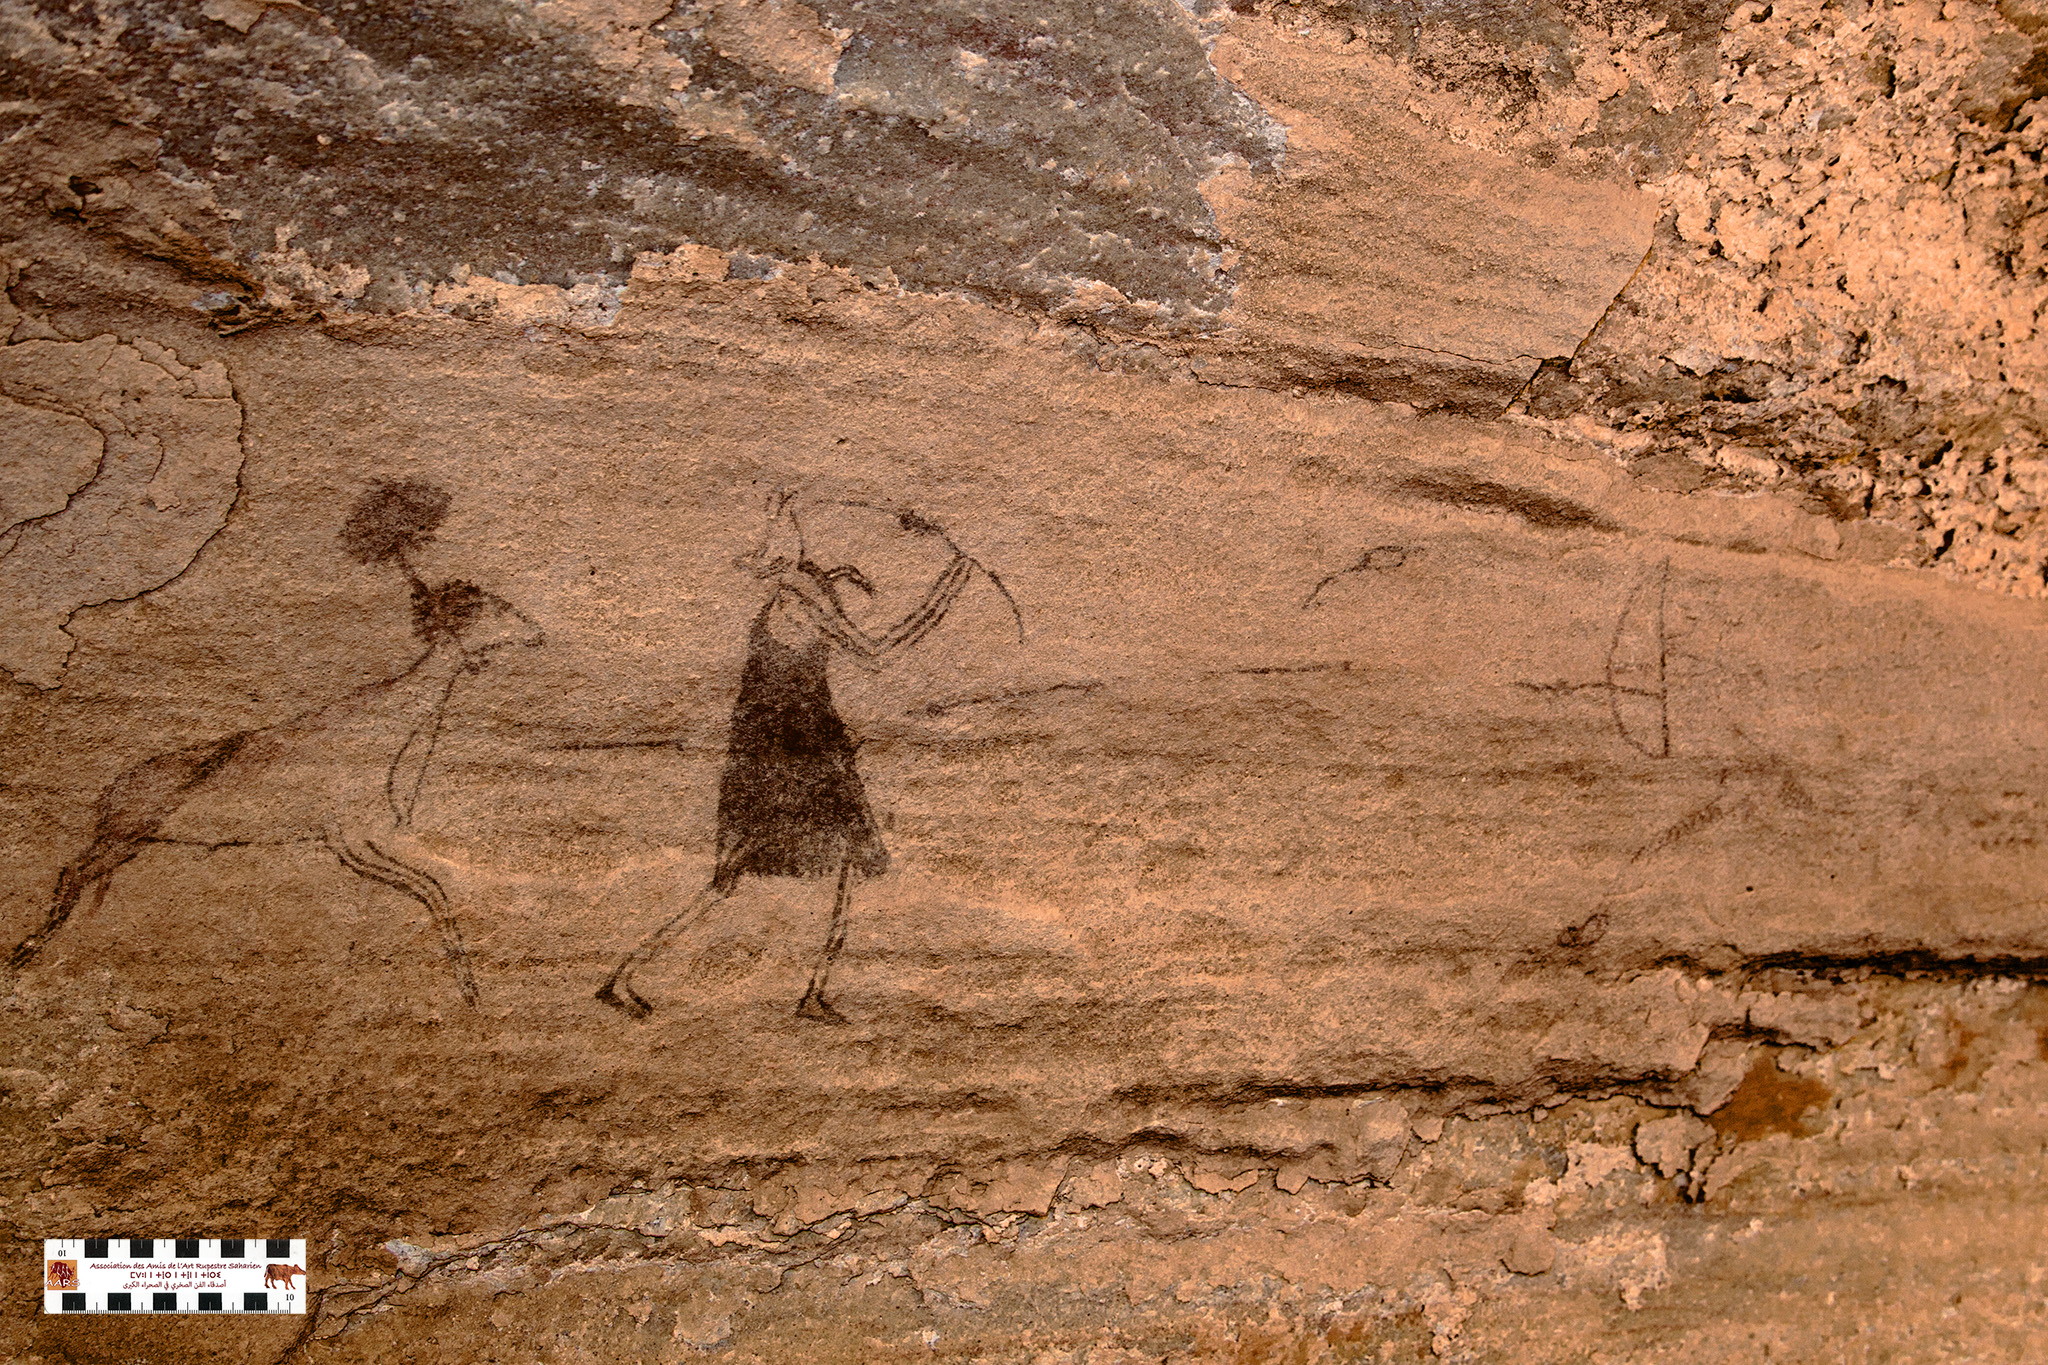
Image after blending processes of Luminosity & Soft Light
輝度合成&ソフトライト処理後の画像
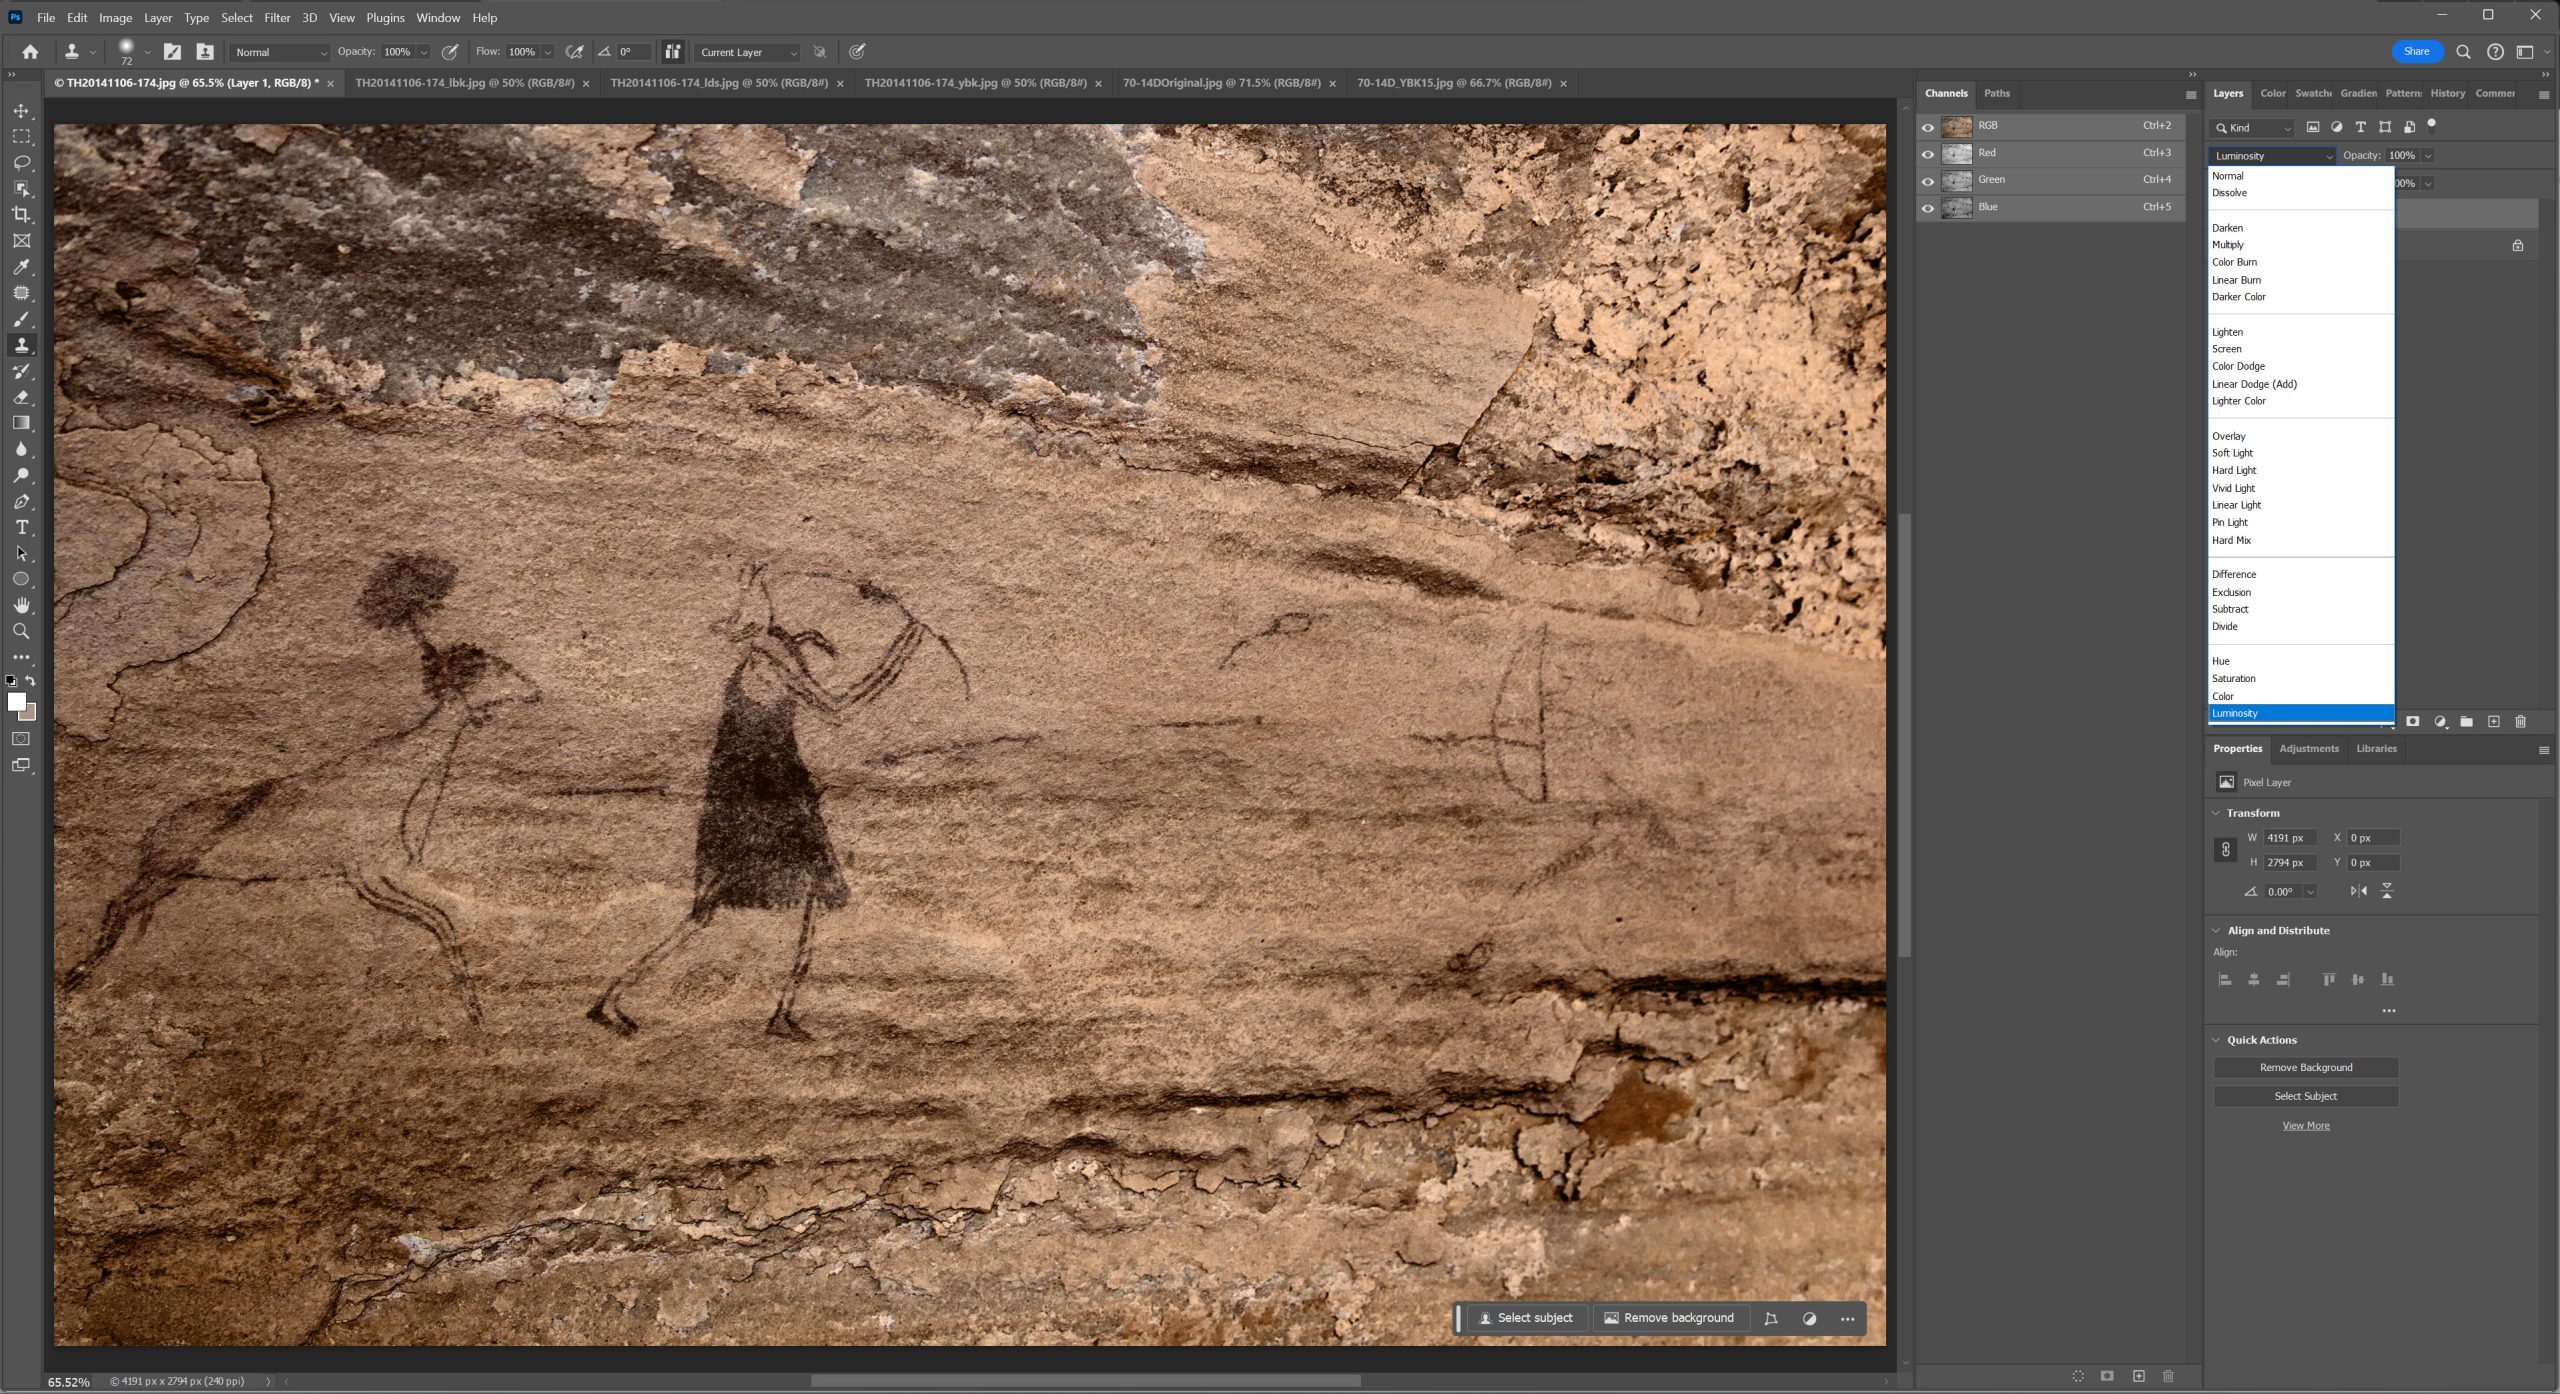
Work procedure:
Open the original image and the DStretched image with Photoshop. Copy DStretched image, Paste it on the original image. Change the blending mode of the pasted layer from ‘Normal’ to ‘Luminosity’. If the blending looks unnatural, adjust the Opacity.
作業手順:
元の画像とDStretch画像をPhotoshopで開き、DStrech画像をコピー。元の画像を開き、ペースト。ペーストされたレイヤーの描画モードを「通常」から「輝度」に変える。合成が不自然に見える場合は、不透明度を調節する。
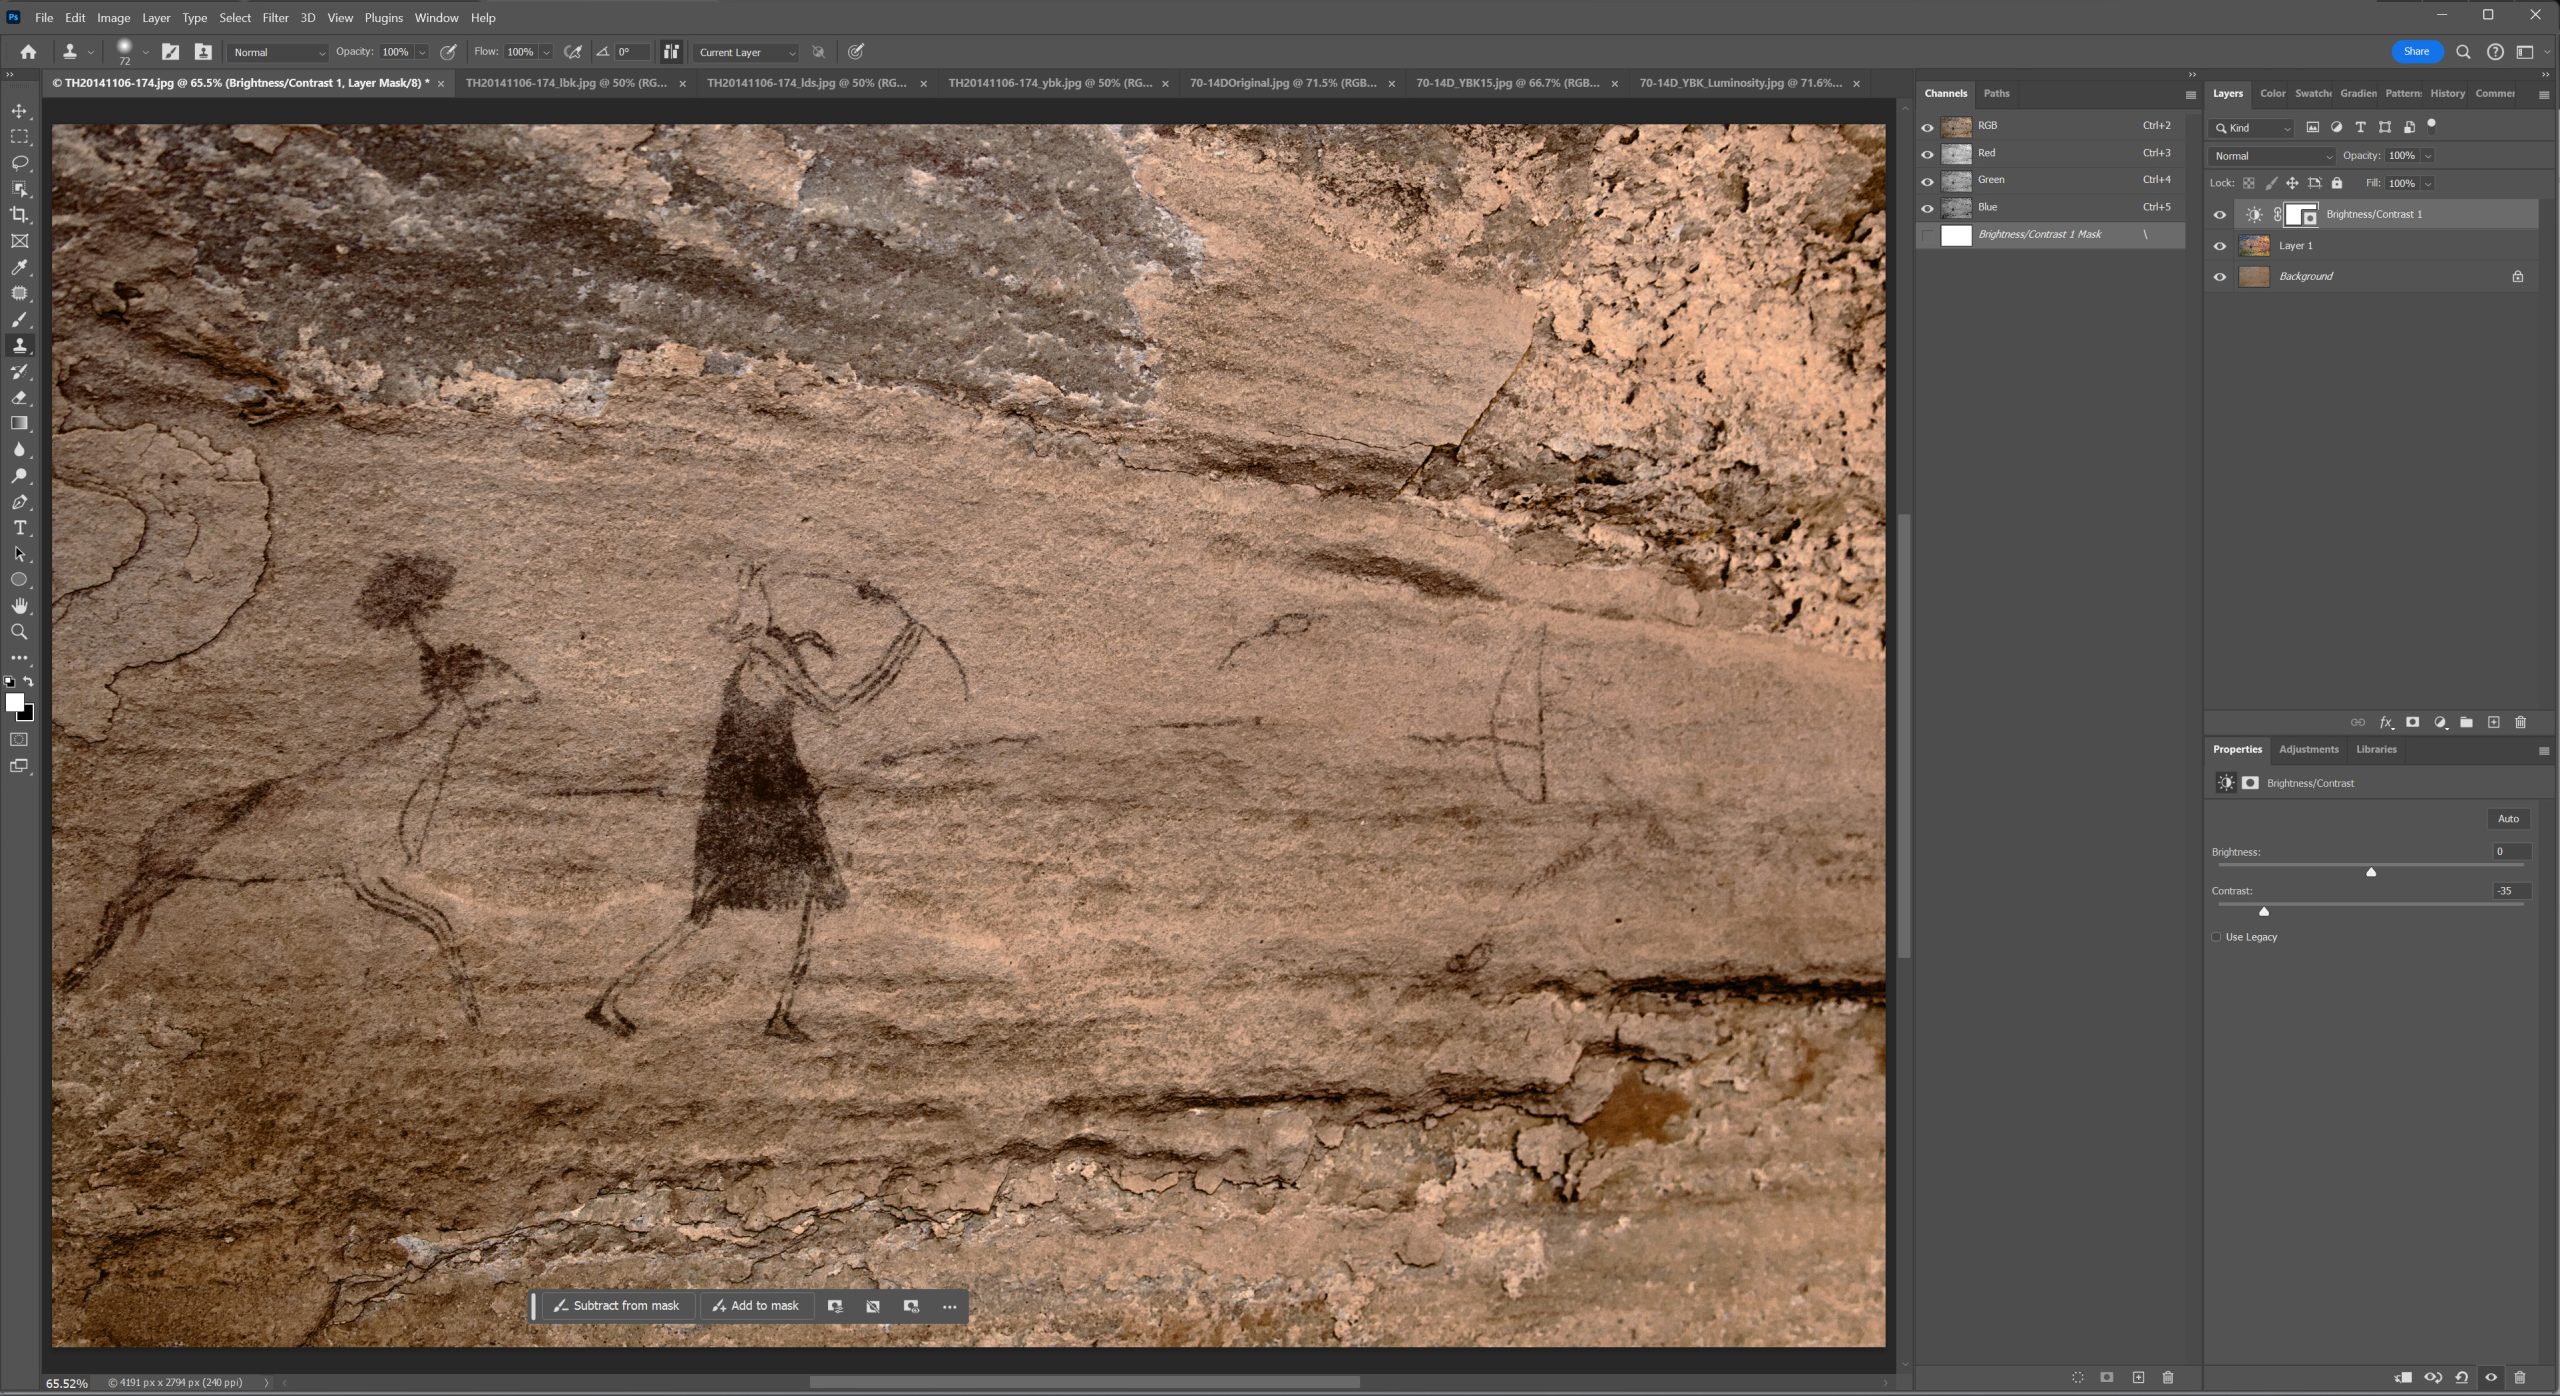
Adjustments after Luminosity blending: Reduce contrast to reduce the harshness of the shading. No detail is lost when contrast is reduced.
輝度合成処理後の修正: 濃淡のきつさを抑えるためコントラストを下げる。コントラストを下げてもディテールは失われない。
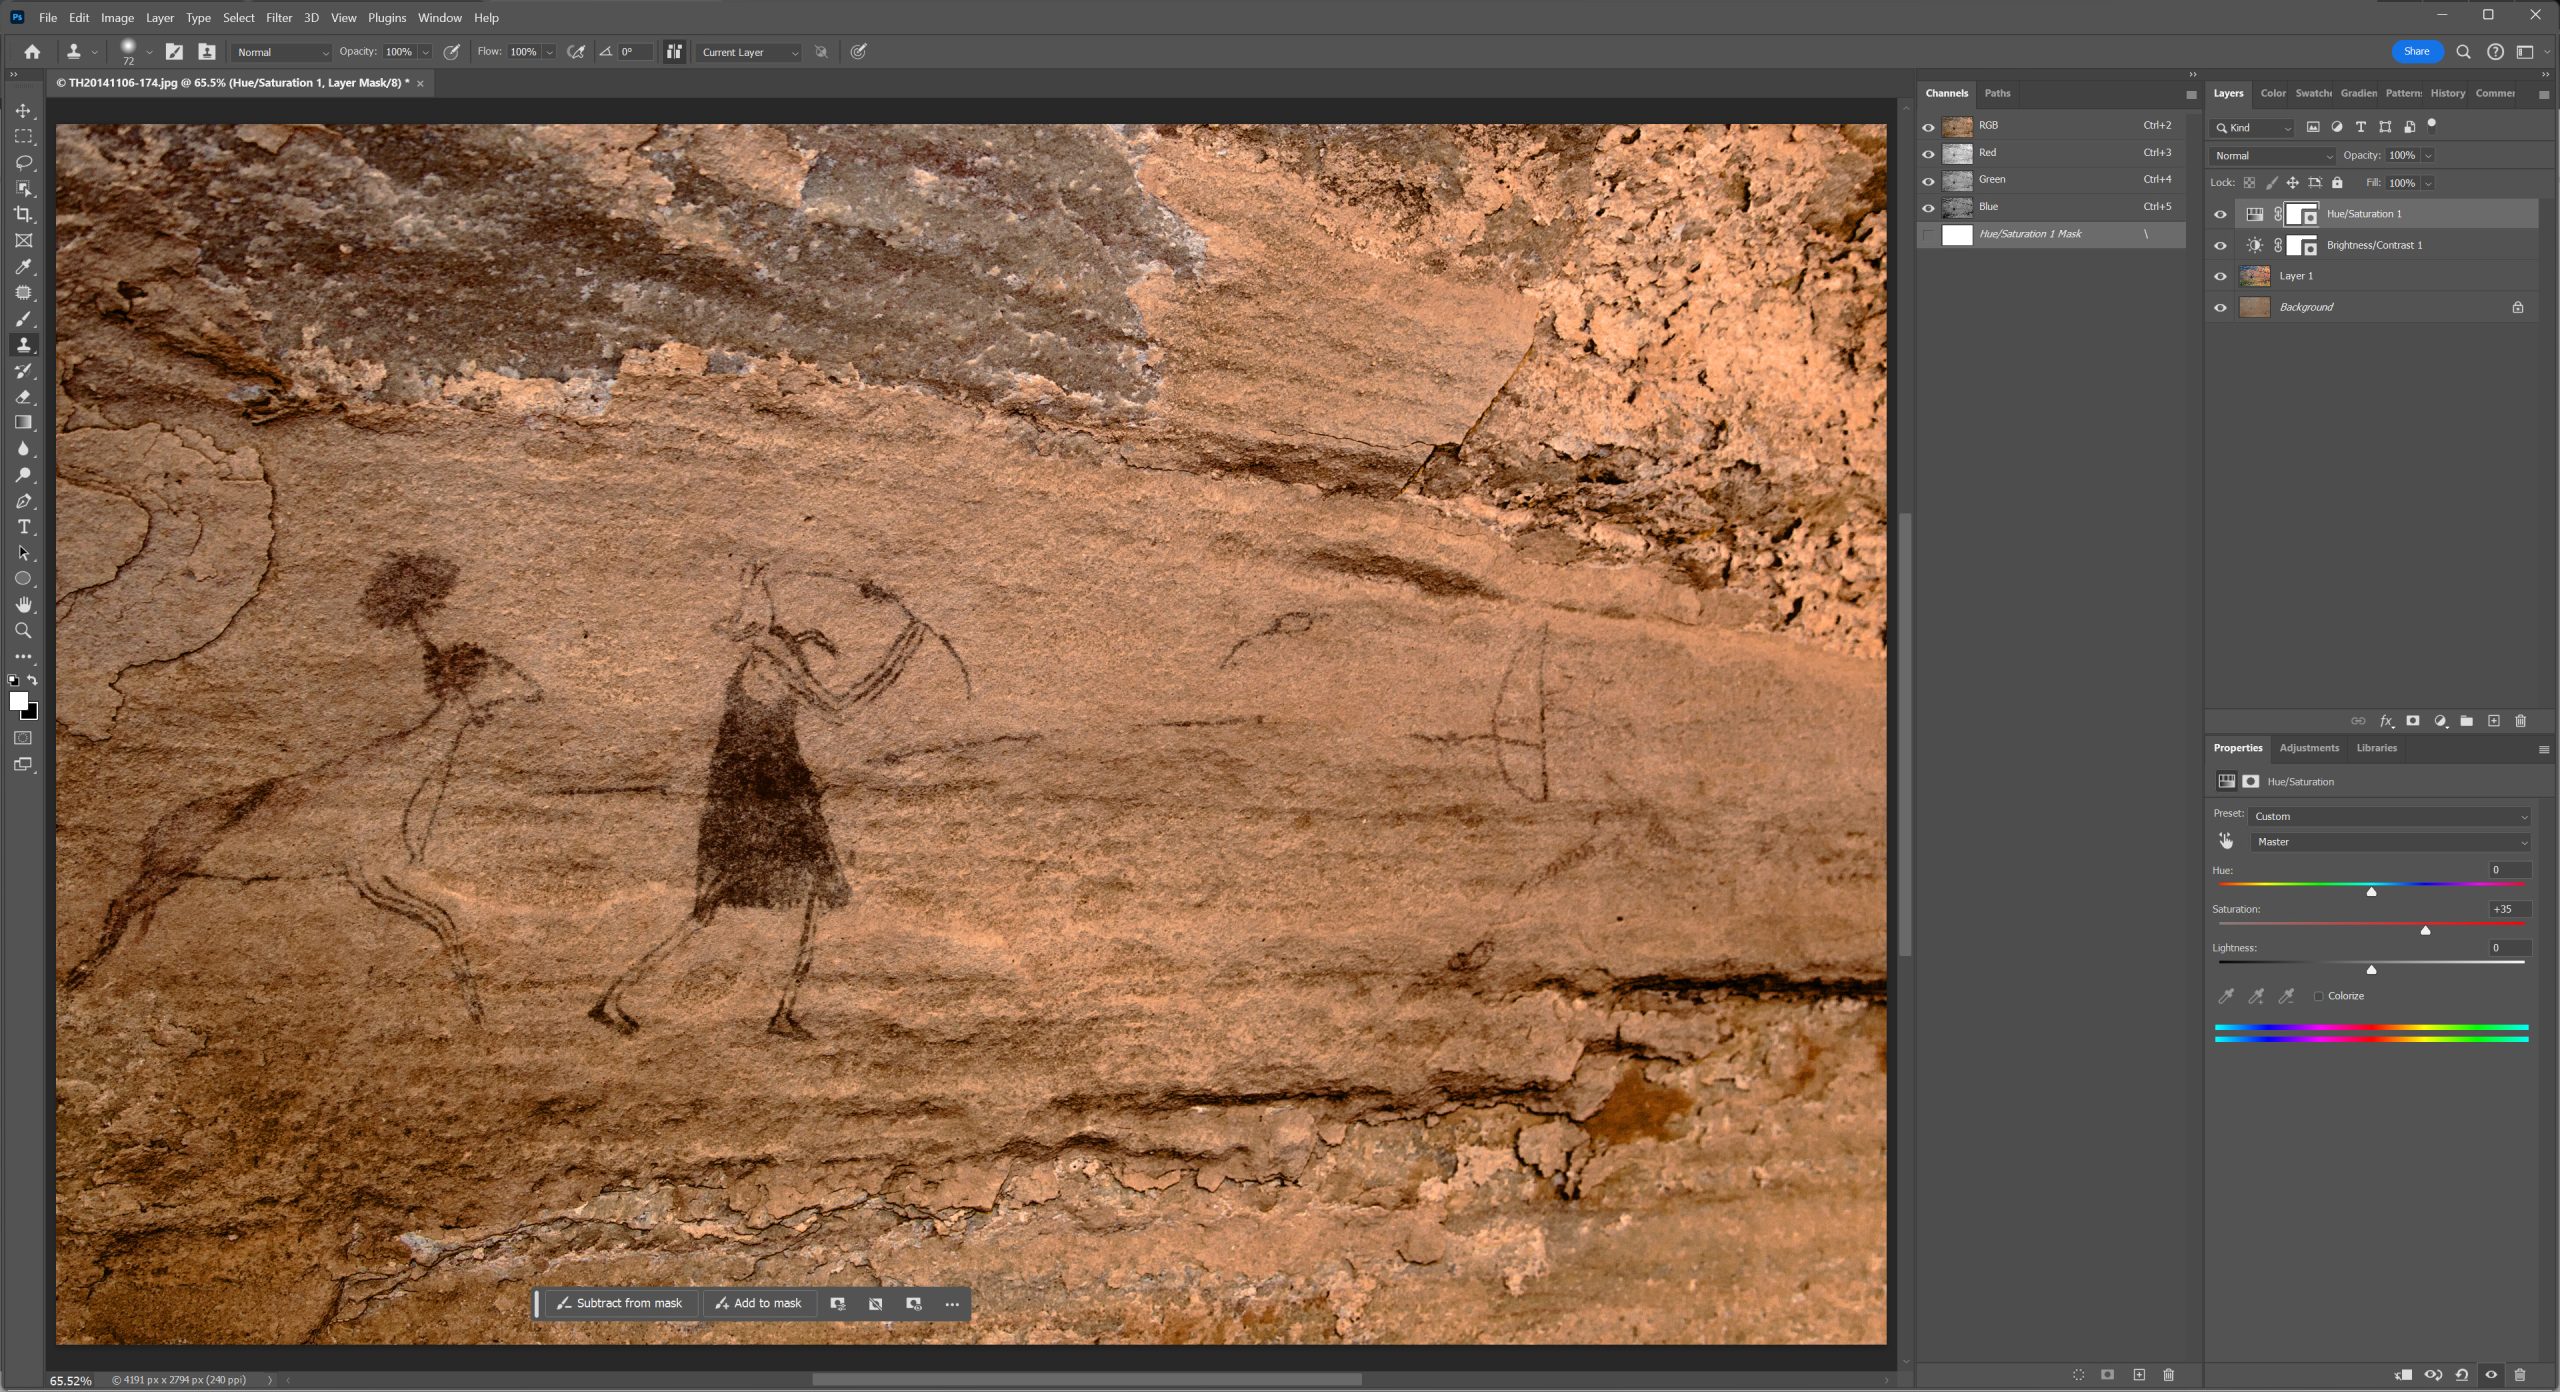
Luminosity blending often results a monotone appearance with low color saturation. In such cases, increase the saturation to make the color closer to that of the original rock surface.
輝度合成の結果、彩度が低くなってモノトーンな状態になる場合が多い。このような場合彩度を上げて元の岩の色に近くなるように調整をする。
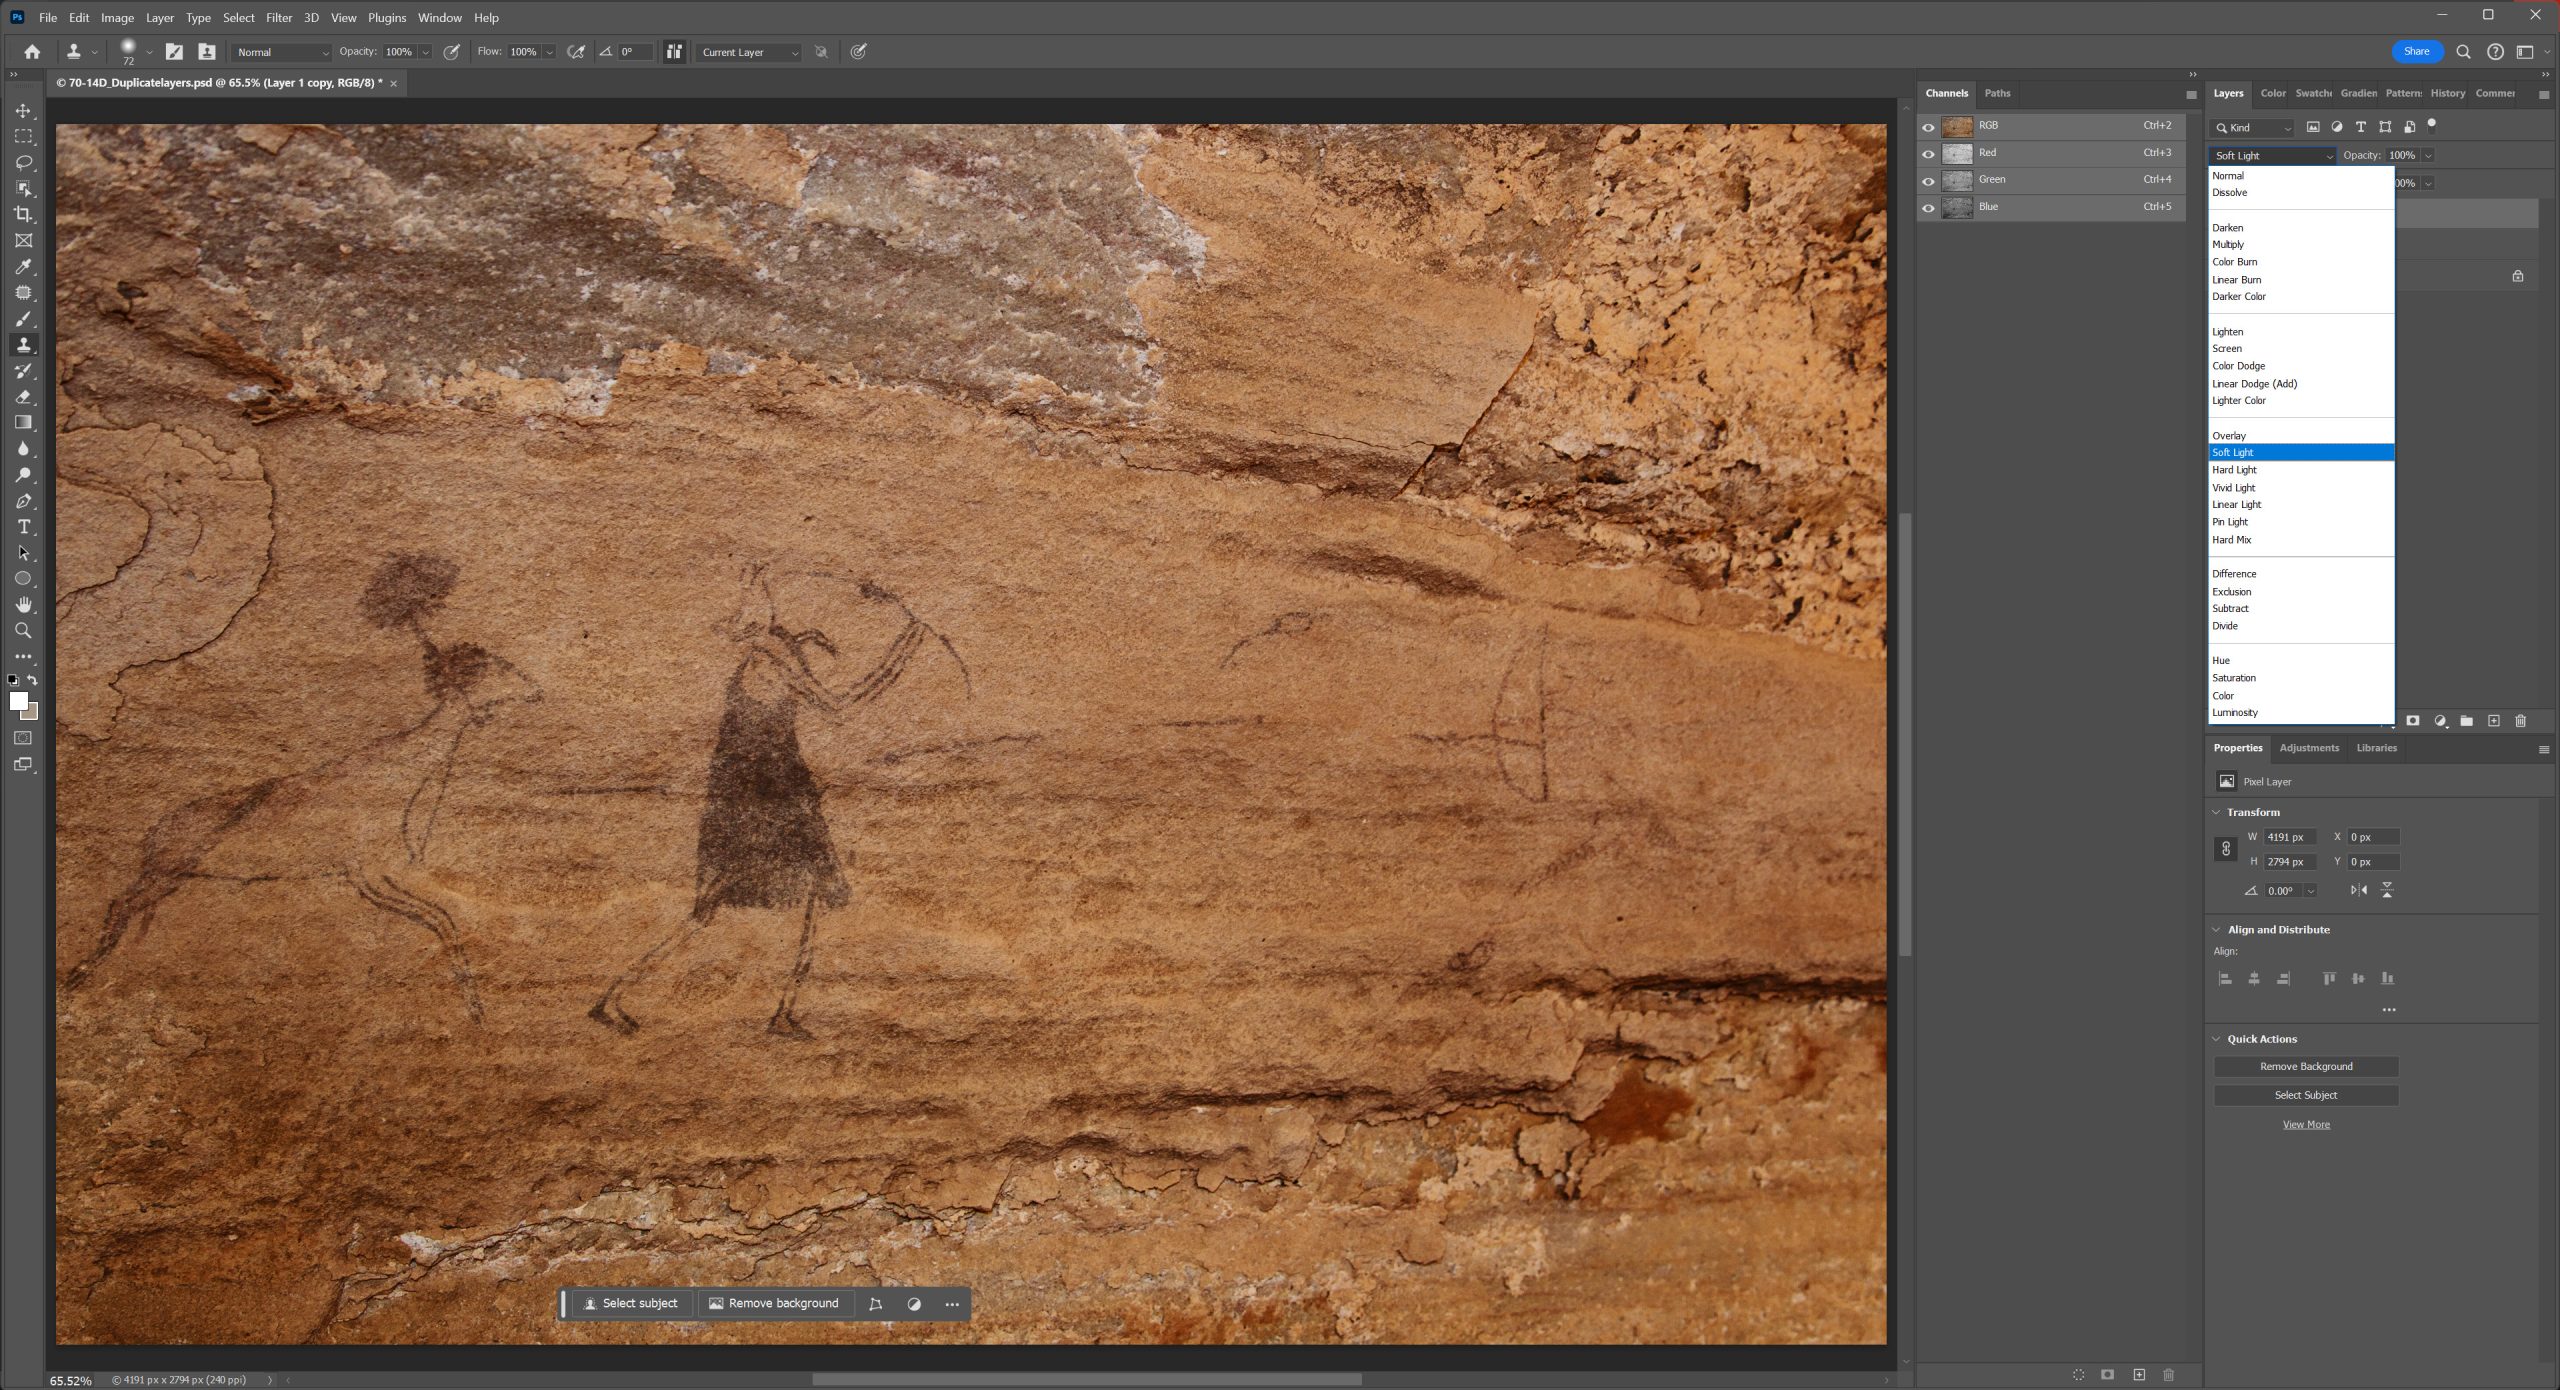
Soft Light blending is another effective method for natural-looking results. After luminosity blending, duplicate the two layers and merge the two duplicated layers. After making the DStretch image layer invisible, change the blending mode of the merged layer from ‘Normal’ to ‘Soft Light’.
ソフトライト合成も自然な仕上がりに有効な手法。輝度合成の後、二つのレイヤーを複製して結合する。DStretch画像レイヤーを見えなくしてから、この新しいレイヤーの描画モードを「通常」から「ソフトライト」に変える。
最近のコメント